School Lunch Ideas For Your Kids
I know how it can be challenging figuring out what is the perfect lunch ideas for the kids, as parents we don’t just want something they would eat but something that would be healthy, tasty and enjoyable for them. If any of those is missing then the purpose of preparing homemade lunch for them has been defeated.
For this reason, I have decided to put together the perfect quick school lunch meals for parents. School lunch ideas that would meet all the aforementioned requirements but also won’t take up too much time to prepare.
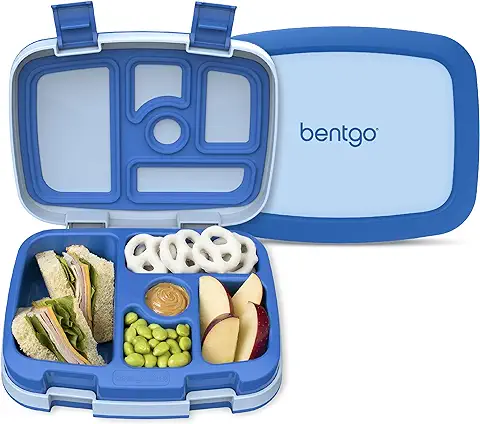
Below are the school lunch idea I was able to come up with.
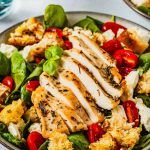
Chicken Salad Wraps:
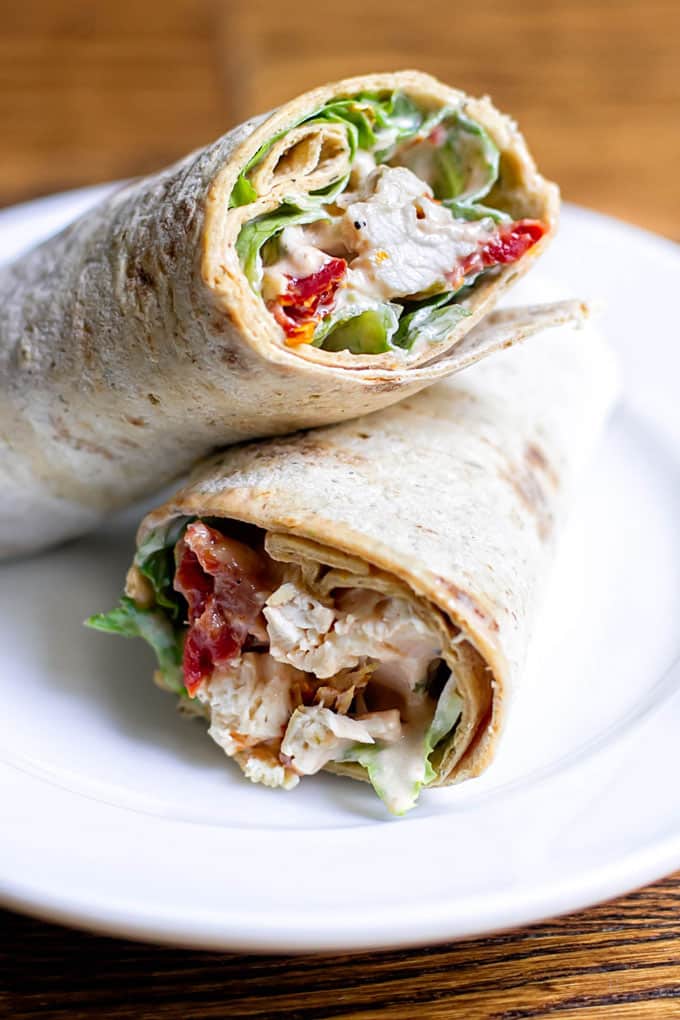
Chicken salad wraps are a wholesome and convenient option for school lunch. Packed with protein from the chicken and nutrients from added veggies, they provide sustained energy to keep kids focused. The wrap is easy to hold and eat, making it perfect for busy lunch periods.

Chicken Salad Wraps Recipe
Equipment
- Knife
- Cutting board
Ingredients
- 2 cups cooked chicken breast diced
- 1/4 cup mayonnaise or Greek yogurt
- 1 tbsp Dijon mustard
- 1/4 cup celery finely chopped
- 1/4 cup red grapes halved
- 4 whole wheat wraps
- 1/2 cup lettuce leaves
Instructions
Prepare the Chicken Salad:
- In a large mixing bowl, combine the diced chicken breast, mayonnaise or Greek yogurt, and Dijon mustard. Mix well until all the chicken is coated with the dressing.
- Add the finely chopped celery and halved red grapes to the bowl. Stir to combine, ensuring the ingredients are evenly distributed throughout the salad.
Assemble the Wraps:
- Lay the whole wheat wraps flat on a clean cutting board. Place a few lettuce leaves in the center of each wrap.
- Spoon a generous portion of the chicken salad onto the lettuce. Spread it out evenly, leaving a small border around the edges of the wrap.
Roll the Wraps:
- Starting from one edge, carefully roll the wrap up tightly. The lettuce will help keep the chicken salad in place as you roll.
- Slice the wraps in half diagonally for easier handling and a more attractive presentation.
Pack and Serve:
- Pack the chicken salad wraps in a lunchbox. They can be enjoyed as is or paired with a side of fruit or vegetables for a complete meal.
Nutrition
Check out the Chicken Salad Wraps Recipe
Macaroni and Cheese with Broccoli:
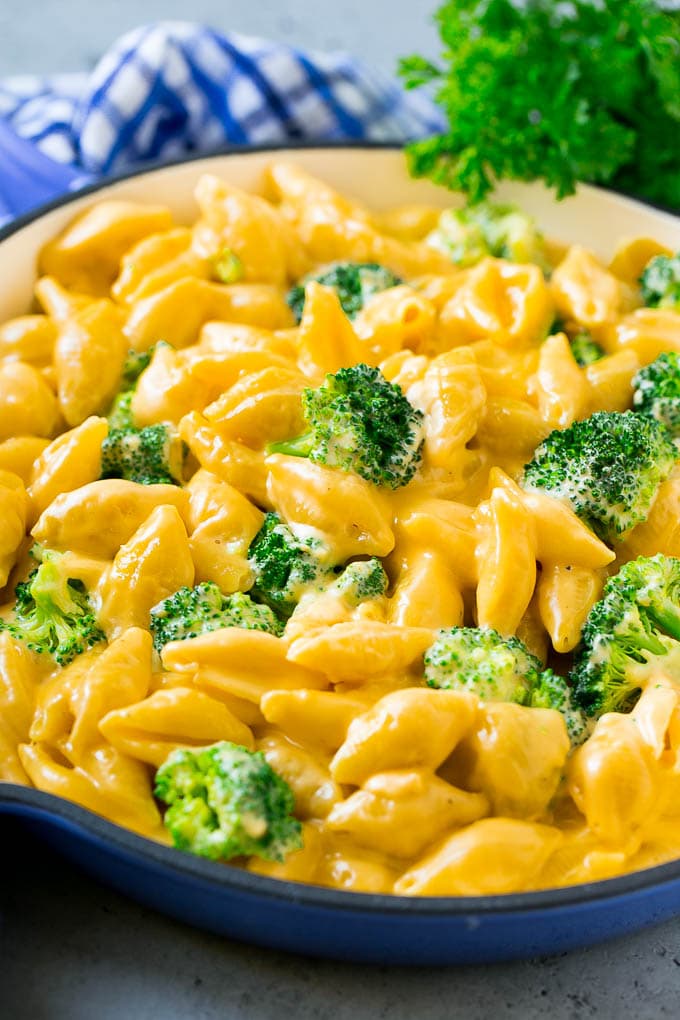
This classic comfort food, enhanced with broccoli, combines creamy, cheesy goodness with a dose of vitamins and fiber. The familiar taste of mac and cheese is a kid-favorite, while the broccoli adds a nutritious twist, making it a balanced, satisfying meal.

Macaroni and Cheese with Broccoli Recipe
Equipment
- Saucepan
Ingredients
- 2 cups elbow macaroni
- 1 1/2 cups cheddar cheese shredded
- 1/2 cup milk
- 2 tbsp butter
- 1 cup steamed broccoli chopped
- Salt to taste
- Pepper to taste
Instructions
Cook the Macaroni:
- Bring a large pot of salted water to a boil. Add the elbow macaroni and cook according to the package instructions, usually about 8-10 minutes, until al dente.
- Once cooked, drain the macaroni in a colander and set aside.
Make the Cheese Sauce:
- In the same saucepan, melt the butter over medium heat. Once melted, add the milk and heat until warm but not boiling.
- Gradually add the shredded cheddar cheese to the saucepan, stirring constantly until the cheese is completely melted and smooth. If the sauce is too thick, you can add a bit more milk to reach the desired consistency.
Combine the Macaroni and Broccoli:
- Return the cooked macaroni to the saucepan with the cheese sauce. Stir until the pasta is fully coated with the sauce.
- Add the steamed and chopped broccoli to the macaroni and cheese, stirring to distribute the broccoli evenly throughout.
Season and Serve:
- Season the macaroni and cheese with salt and pepper to taste. If packing for lunch, allow it to cool slightly before transferring to a lunch container.
- This dish can be enjoyed warm or at room temperature, making it a versatile option for a school lunch.
Nutrition
Check out the Macaroni and Cheese with Broccoli Recipe
Cheeseburger Sliders:
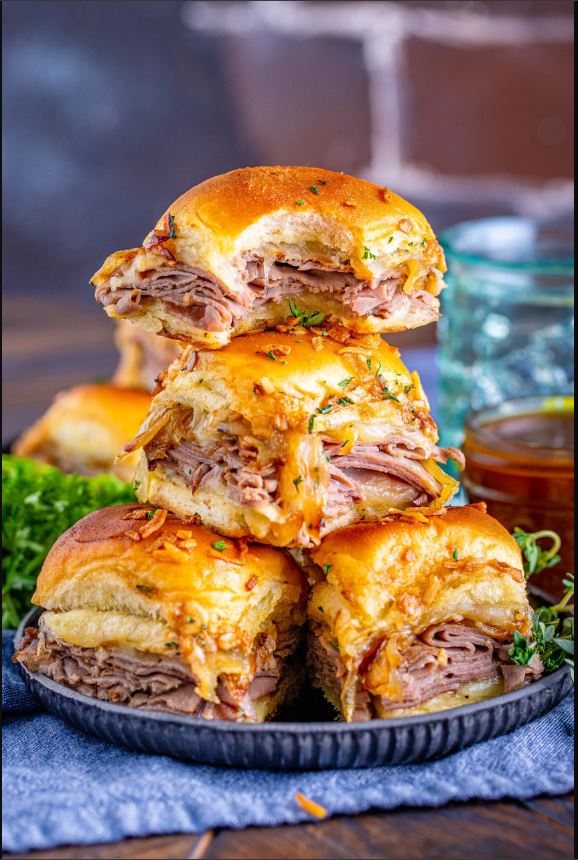
Bite-sized cheeseburger sliders offer a fun, manageable way to enjoy a classic meal. They’re filling, easy to pack, and provide the perfect balance of protein, carbs, and fats, ensuring kids stay full and energized throughout the day.

Cheeseburger Sliders Recipe For School Lunch
Equipment
- Knife
- Cutting board
Ingredients
- 8 mini whole-grain buns
- 4 turkey or chicken patties cooked and halved
- 8 lettuce leaves
- 4 slices of cheddar cheese halved
- 1 cup sweet potato fries baked
Instructions
Prepare the Sweet Potato Fries:
- Preheat your oven to 400°F (200°C). While the oven heats up, wash and peel the sweet potatoes. Cut them into thin strips, about 1/4 inch thick.
- Spread the sweet potato fries out on a baking sheet in a single layer. Drizzle with olive oil and season with salt and pepper. Toss to coat the fries evenly.
- Bake for 20-25 minutes, flipping halfway through, until the fries are golden and crispy. Once done, remove from the oven and allow them to cool slightly.
Cook or Heat the Patties:
- If you’re using pre-cooked turkey or chicken patties, heat them in a skillet or microwave until warmed through. If the patties are raw, cook them in a skillet over medium heat for 4-5 minutes per side, or until fully cooked and golden brown.
Assemble the Sliders:
- Slice each mini bun in half horizontally. Place half of a cooked patty on the bottom half of each bun.
- Top the patty with a slice of cheddar cheese and a lettuce leaf. The cheese will melt slightly from the heat of the patty, adding to the flavor.
- Place the top half of the bun on the slider to complete the assembly.
Pack the Sliders:
- Carefully pack the sliders in your child’s lunchbox. Place a serving of sweet potato fries in a separate compartment or container to keep them crispy until lunchtime.
Serve:
- The sliders are perfect for little hands and make a fun and satisfying lunch. They’re best served at room temperature, so they’re great for packing ahead of time.
Nutrition
Check out the Cheeseburger Sliders Recipe.
Veggie Wraps:
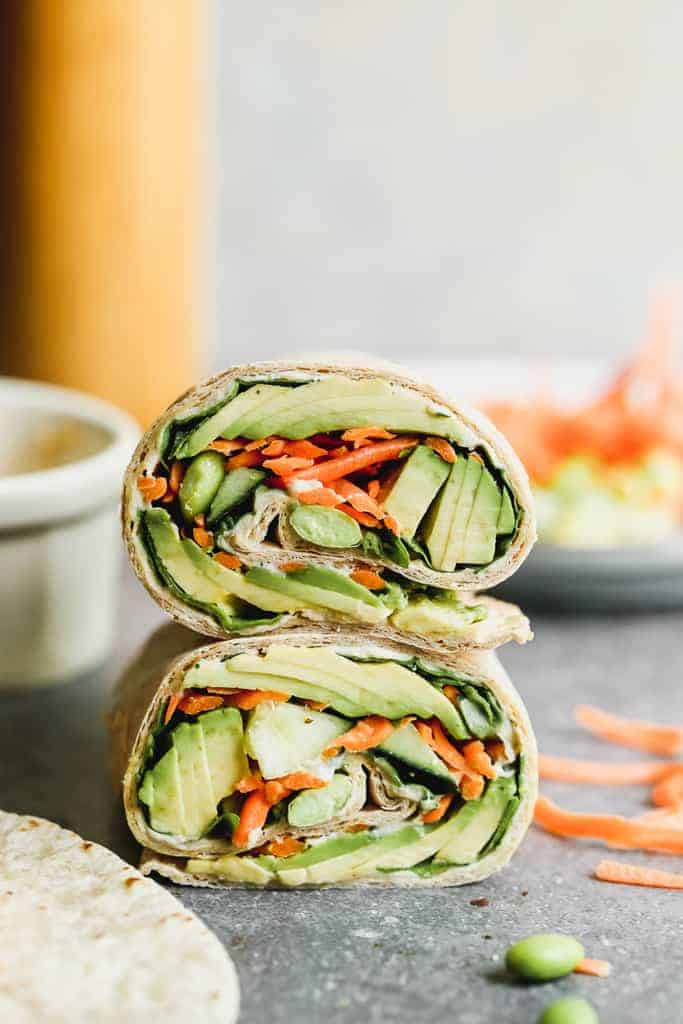
Veggie wraps are an excellent way to sneak in a variety of vegetables into a child’s diet. They are colorful, customizable, and can be made with different spreads to suit individual tastes, offering a fresh and crunchy option for lunch.

Veggie Wrap Recipe For School Lunch
Equipment
- Knife
- Cutting board
Ingredients
- 4 spinach wraps
- 1/2 cup hummus
- 1 cucumber sliced into thin strips
- 1 carrot shredded
- 1/2 bell pepper sliced into thin strips
- 1/2 cup grapes for serving
Instructions
Prepare the Vegetables:
- Begin by washing the cucumber, carrot, and bell pepper under cold running water. Use a vegetable peeler to peel the cucumber and carrot if desired.
- Slice the cucumber and bell pepper into thin strips, about 3-4 inches long. Shred the carrot using a box grater or a food processor.
Spread the Hummus:
- Lay the spinach wraps flat on a clean cutting board. Using a spoon or butter knife, spread a generous amount of hummus onto each wrap, covering the surface evenly but leaving a small border around the edges.
Add the Veggies:
- Place a few strips of cucumber and bell pepper in the center of each wrap. Add a handful of shredded carrot on top. Be mindful not to overfill the wraps, as this can make them difficult to roll.
Roll the Wraps:
- Starting from one edge, carefully roll the wrap up tightly. The hummus will help to keep the wrap sealed. If needed, you can secure the wrap with a toothpick.
- Once rolled, use a sharp knife to slice the wrap in half diagonally. This creates a more manageable size for little hands and makes the presentation more appealing.
Pack and Serve:
- Pack the veggie wraps in your child’s lunchbox along with a side of grapes. The grapes provide a sweet contrast to the savory wrap, making for a well-rounded meal.
Nutrition
Check Out the Veggie Wraps Recipe.
Pasta Salad:
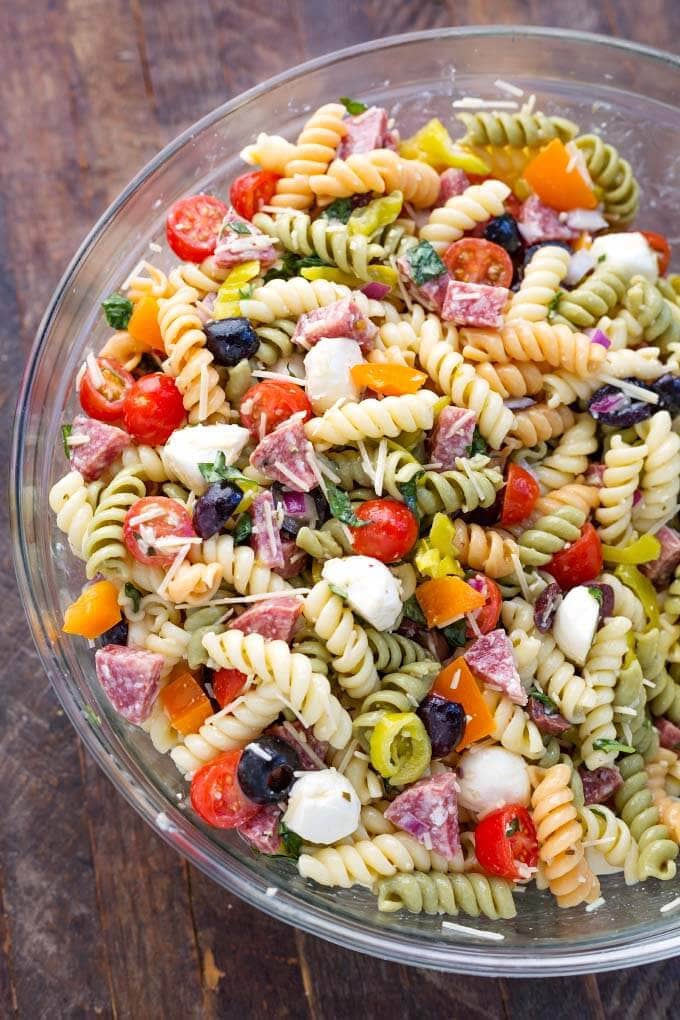
Pasta salad is a versatile, make-ahead meal that stays fresh until lunchtime. With a mix of pasta, veggies, and sometimes protein like chicken or cheese, it’s a complete, cool meal that’s easy to eat and packed with nutrients.

Pasta Salad Recipe For School Lunch
Ingredients
- 2 cups whole wheat pasta penne or rotini, cooked and cooled
- 1 cup cherry tomatoes halved
- 1/2 cucumber diced
- 1/4 cup black olives sliced
- 1/4 cup Italian dressing
- 1/4 cup feta cheese crumbled (optional)
- 1 apple sliced for serving
Instructions
Cook the Pasta:
- Begin by bringing a large pot of salted water to a boil. Add the whole wheat pasta and cook according to the package instructions, usually around 8-10 minutes, until al dente.
- Once cooked, drain the pasta using a colander and rinse it under cold water to stop the cooking process. This will also help cool the pasta quickly for the salad.
Prepare the Vegetables:
- While the pasta is cooling, halve the cherry tomatoes, dice the cucumber, and slice the black olives. Set them aside.
Assemble the Salad:
- In a large mixing bowl, combine the cooled pasta with the prepared vegetables. Add the cherry tomatoes, cucumber, and black olives to the bowl.
- Drizzle the Italian dressing over the salad. You can add more or less dressing depending on your taste preference. Gently toss the salad to ensure everything is evenly coated with the dressing.
Add Feta Cheese (Optional):
- If using, sprinkle the crumbled feta cheese over the salad. The feta adds a creamy, tangy flavor that complements the other ingredients.
Serve or Pack:
- The pasta salad can be served immediately or stored in the refrigerator until ready to pack. It tastes even better after sitting for a bit, as the flavors have time to meld together.
- Pack the pasta salad in a lunch container and include a side of sliced apple for a sweet finish to the meal.
Nutrition
Check out the Pasta Salad Recipe.
Chicken and Veggie Quesadillas:
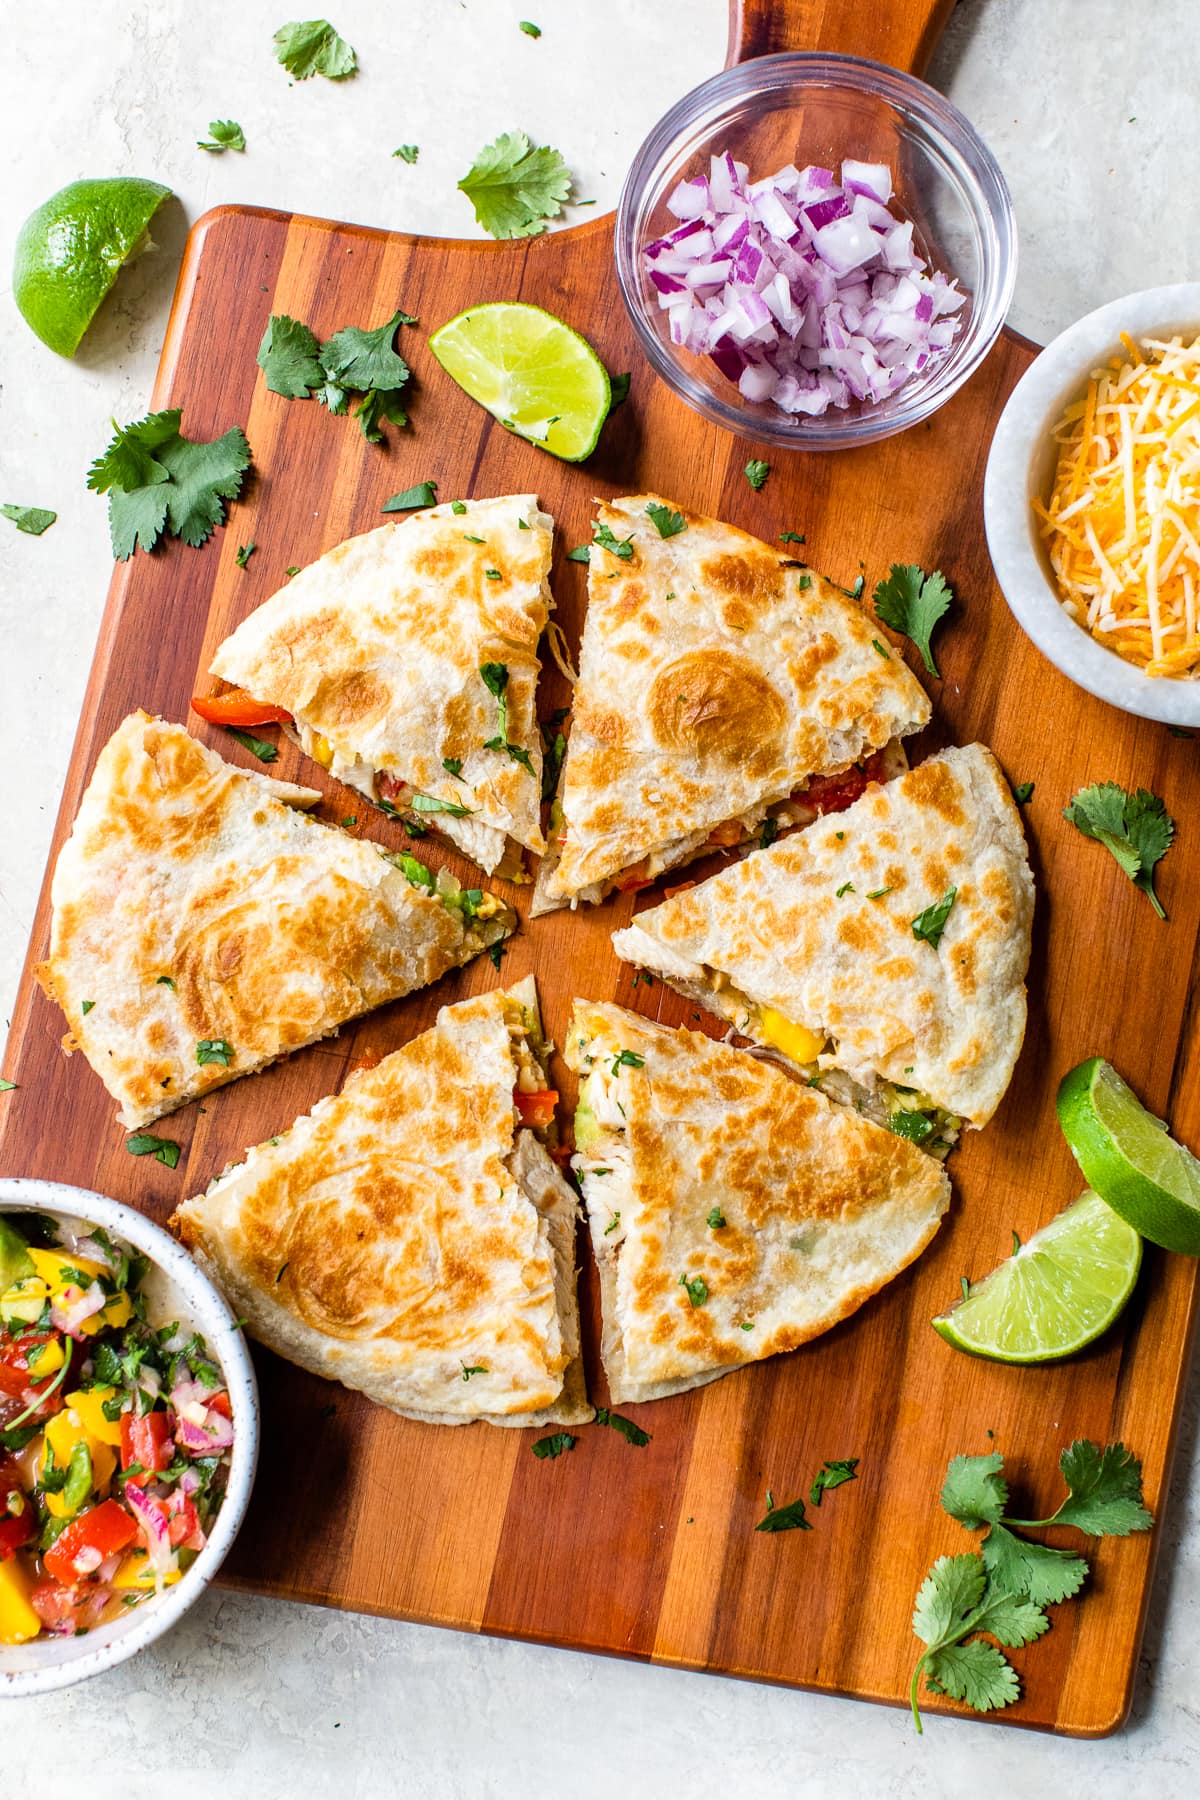
These quesadillas are a delicious way to combine lean protein with vegetables in a portable package. They can be served hot or cold, and the melted cheese makes them appealing to kids, while the veggies add extra nutrients.

Chicken and Veggie Quesadillas Recipe For School Lunch
Equipment
- Skillet
Ingredients
- 2 whole wheat tortillas
- 1 cup grilled chicken diced
- 1 cup shredded cheese cheddar, Monterey Jack, or a blend
- 1/2 cup mixed vegetables bell peppers, onions, corn
- 1/4 cup salsa
- 1/4 cup guacamole
Instructions
Prepare the Ingredients:
- Dice the grilled chicken into small, bite-sized pieces. If you’re using pre-cooked chicken, make sure it’s properly seasoned. Prepare the vegetables by slicing the bell peppers and onions into thin strips, and ensure the corn is thawed if using frozen.
Heat the Skillet:
- Preheat a non-stick skillet over medium heat. A well-heated skillet will help create a golden, crispy exterior on the quesadillas.
Assemble the Quesadilla:
- Place one tortilla flat on the skillet. Sprinkle half of the shredded cheese evenly over the tortilla. The cheese will act as a binder, holding the other ingredients together.
- Distribute the diced chicken and mixed vegetables over the cheese layer. Try to spread the filling evenly to ensure each bite has a good mix of ingredients.
- Sprinkle the remaining cheese over the top of the chicken and veggies, and place the second tortilla on top.
Cook the Quesadilla:
- Cook the quesadilla for 3-4 minutes on one side, or until the bottom tortilla is golden brown and the cheese begins to melt.
- Carefully flip the quesadilla using a spatula, and cook the other side for an additional 3-4 minutes. The quesadilla should be crispy on the outside with the cheese fully melted.
Cool and Slice:
- Remove the quesadilla from the skillet and allow it to cool for a minute or two. This makes slicing easier and prevents the filling from spilling out.
- Slice the quesadilla into wedges using a knife or pizza cutter.
Serve with Dips:
- Pack the quesadilla wedges with small containers of salsa and guacamole for dipping. These dips add extra flavor and a fun interactive element to the lunch.
Nutrition
Check out Chicken and Veggie Quesadillas Recipe.
Turkey and Cheese Roll-Ups:
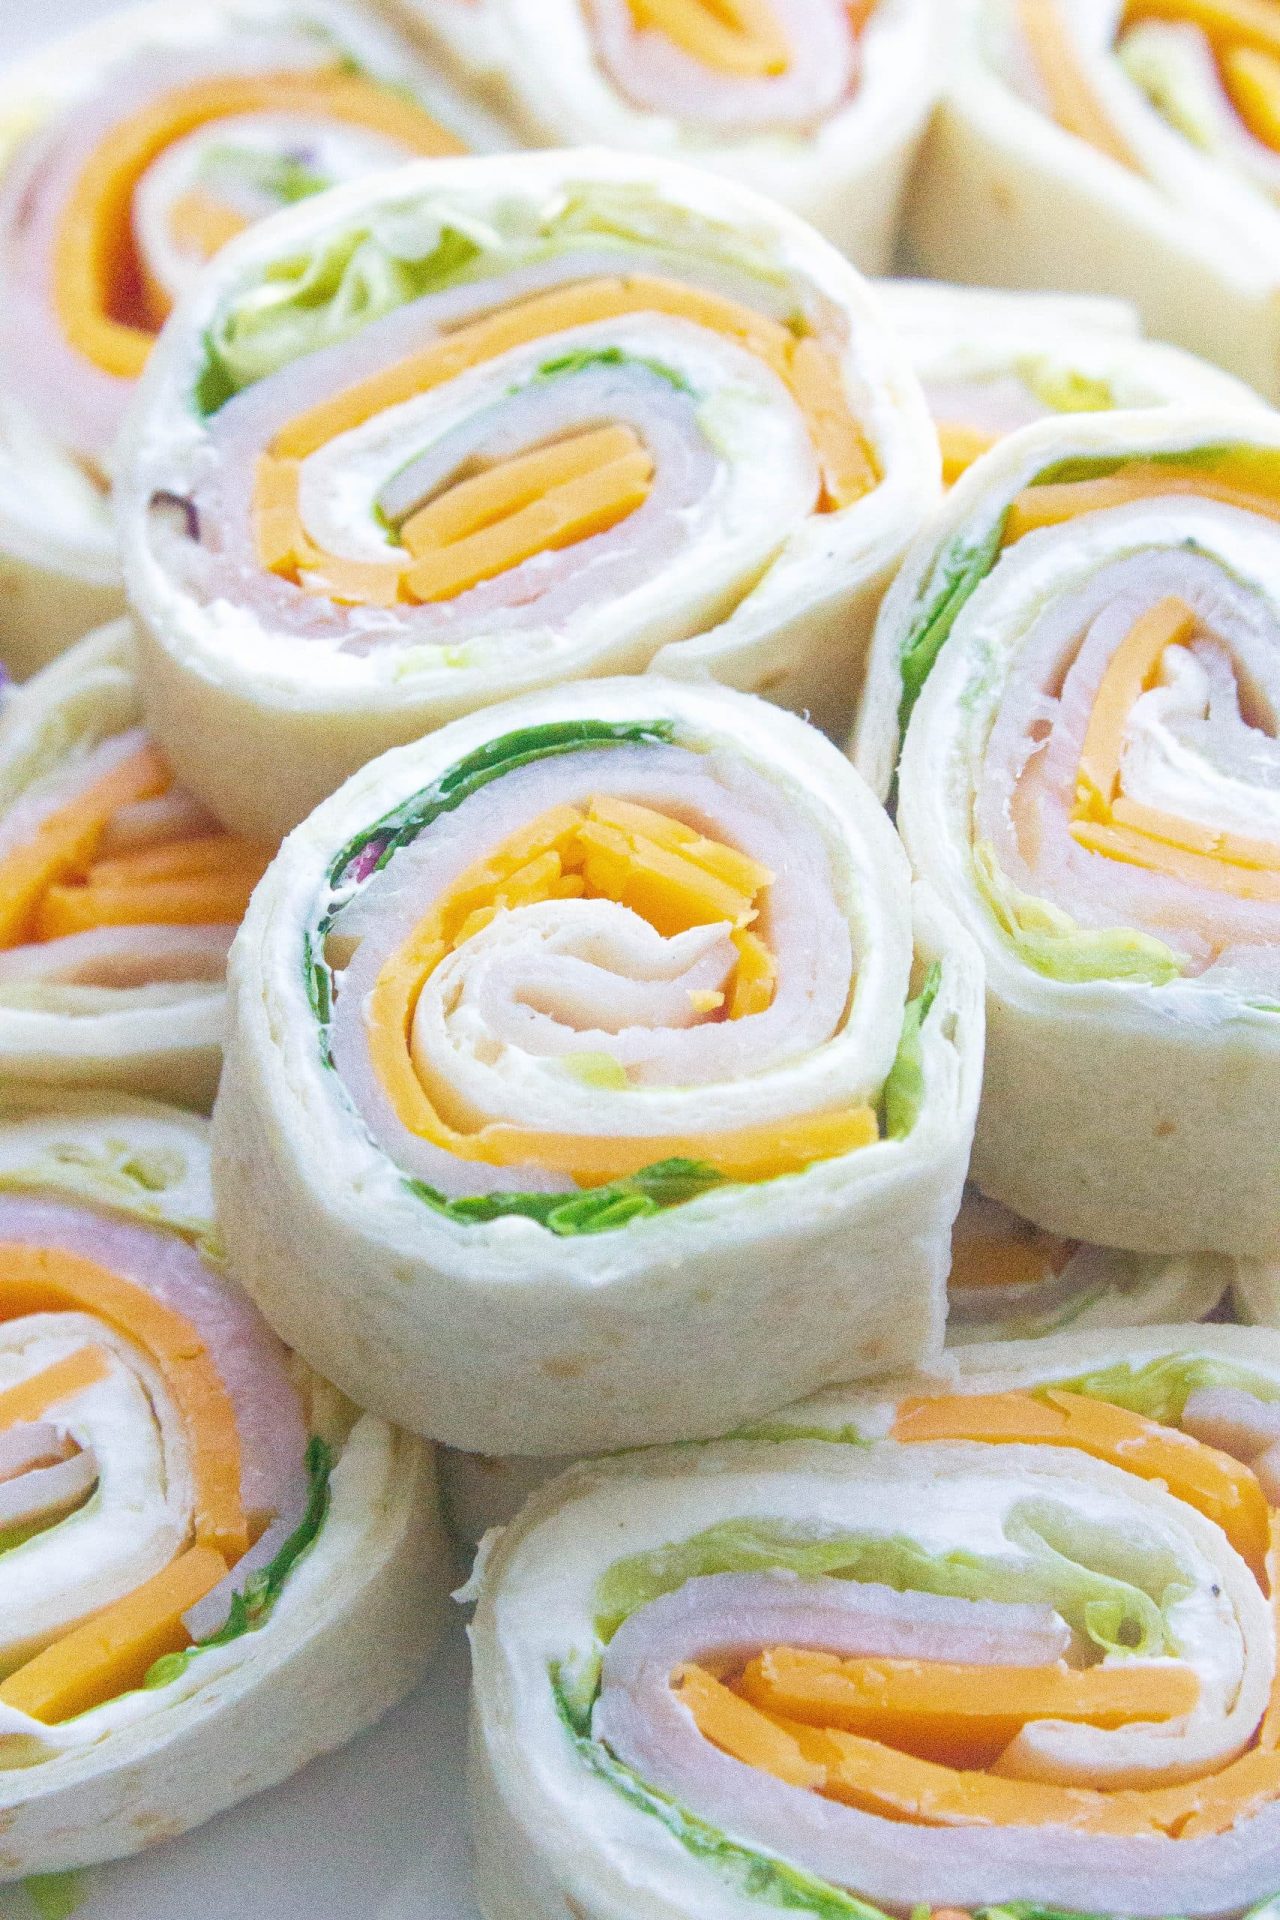
Simple and quick to prepare, turkey and cheese roll-ups are a protein-packed option that kids love. They’re easy to hold and eat, and can be paired with fruits or veggies for a balanced meal.

Turkey and Cheese Roll-Ups Recipe
Equipment
- Knife
- Cutting board
Ingredients
- 4 whole-grain tortillas
- 8 slices of turkey breast
- 4 slices of cheddar cheese
- 1 cup baby carrots
- 1/2 cup hummus
Instructions
Prepare the Ingredients:
- Lay the whole-grain tortillas flat on a clean cutting board. Ensure the tortillas are fresh and pliable; if they’re a bit stiff, you can microwave them for 10-15 seconds to soften.
Layer the Turkey:
- Place two slices of turkey breast in the center of each tortilla. Spread them out so they cover the majority of the tortilla but leave a small border around the edges.
Add the Cheese:
- Place a slice of cheddar cheese on top of the turkey. The cheese adds a nice flavor and helps hold the roll-up together once it’s cut.
Roll the Tortillas:
- Starting from one edge, carefully roll the tortilla up tightly. Make sure to keep the roll snug so the ingredients don’t spill out. You can secure the roll with a toothpick if necessary.
Slice the Roll-Ups:
- Using a sharp knife, slice each roll-up in half diagonally. This makes them easier to handle and creates a visually appealing presentation.
Pack and Serve:
- Place the roll-ups in your child’s lunchbox. Add a side of baby carrots and a small container of hummus for dipping. This combination provides a balanced meal with protein, vegetables, and healthy fats.
Nutrition
Check Out The Turkey And Cheese Roll-Ups Recipe.
DIY Mini Pizzas:
DIY mini pizzas offer a fun, interactive lunch option that allows kids to customize their toppings. Whether made with English muffins or mini pita bread, they provide a balanced mix of carbs, protein, and vegetables, ensuring a nutritious and engaging meal.

DIY Mini Pizzas For School Lunch
Equipment
Ingredients
- 4 whole wheat pita breads
- 1 cup marinara sauce
- 1 cup shredded mozzarella cheese
Assorted toppings:
- 1/4 cup pepperoni slices
- 1/4 cup bell peppers thinly sliced
- 1/4 cup black olives sliced
- 1/4 cup mushrooms sliced
Instructions
Preheat the Oven:
- Begin by preheating your oven to 375°F (190°C). This will ensure that it's at the right temperature when you're ready to bake your mini pizzas.
Prepare the Pita Breads:
- Place the pita breads on a baking sheet. If they’re too large to fit comfortably, you can cut them in half.
Spread the Sauce:
- Using a spoon, spread about 2-3 tablespoons of marinara sauce on each pita bread, leaving a small border around the edge to mimic a pizza crust.
Add the Cheese:
- Sprinkle a generous amount of shredded mozzarella cheese over the marinara sauce on each pita. You can adjust the amount based on how cheesy you like your pizza.
Top the Pizzas:
- Now, it’s time to get creative with the toppings! Distribute the pepperoni, bell peppers, olives, and mushrooms evenly over each pita. Feel free to add or substitute any other toppings your kids enjoy.
Bake:
- Place the baking sheet in the preheated oven and bake for about 10 minutes, or until the cheese is fully melted and bubbly. The edges of the pita should be slightly crispy.
Cool and Pack:
- Once baked, remove the pizzas from the oven and allow them to cool slightly. Slice them into quarters if desired, and pack them in a lunchbox. These mini pizzas are delicious warm or at room temperature.
Nutrition
Check out the DIY Mini Pizzas Recipe.
There are more possible combination of these or other meals to make a really nice school lunch meals for the kids, I would add them as time goes. Try these and see how your kids respond.